
29歳でフリーターからITエンジニアに転職を成功させ
31歳でフリーランスエンジニアになった
あざらしです
こんにちは
4年以上前からずっとお世話になっている海外の”Bitnami”(ビットナミ)というサービス。
(私はビトナミと読んでいます)
このビトナミはサーバの構築の概念を覆す超便利で簡単なサービスなんです。
どれだけ簡単方というと。。。
これくらい簡単です!大袈裟でもなく本当にサクッと構築が完了してしまうサービスなんです!
構築方法
前提条件

LinuxOSがすでにインストールされていることが前提になります。
今のところ私では「CentOS」でのみの実績があるのみとなります。
※RHELでも可能ってこと
そのほかのディストリビューションでもできるのかは不明です。。。。(すいません)
Bitnamiサイトで構築するサーバーを選ぶ
以下のサイトに接続します。(サインインしておきます)
※アカウントも使用料も無料です。
「Applications」をクリックします。
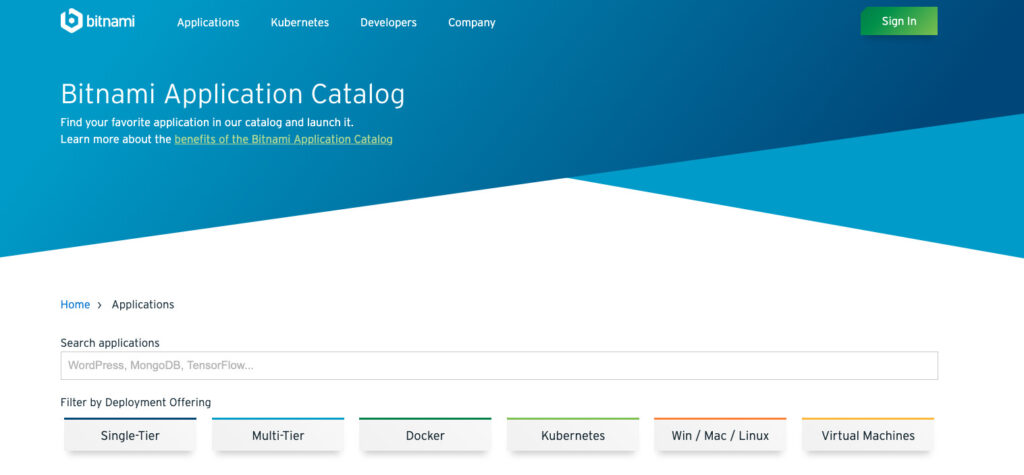
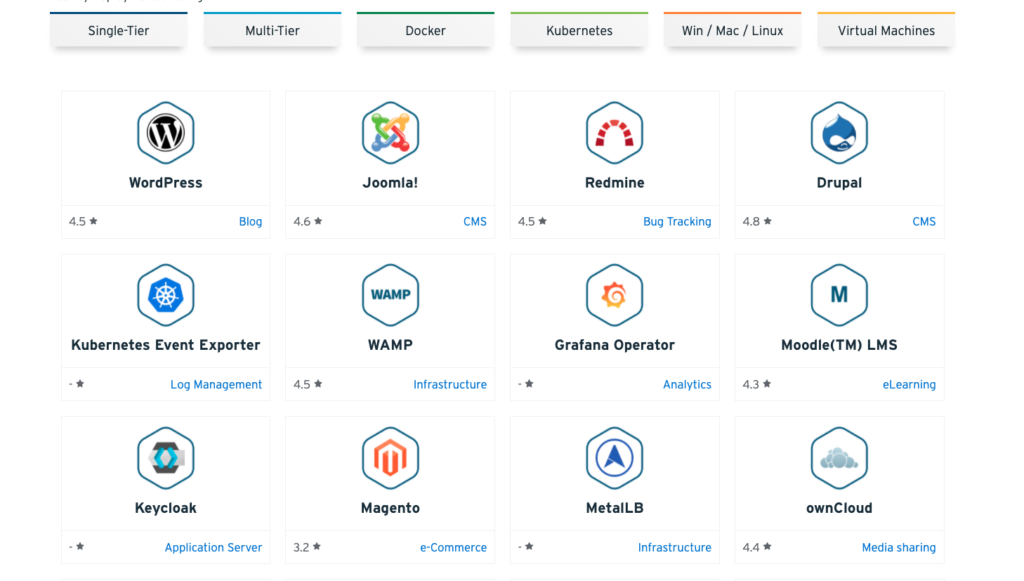
構築したいアプリケーションを選択します。
※100以上のアプリケーションが揃っています
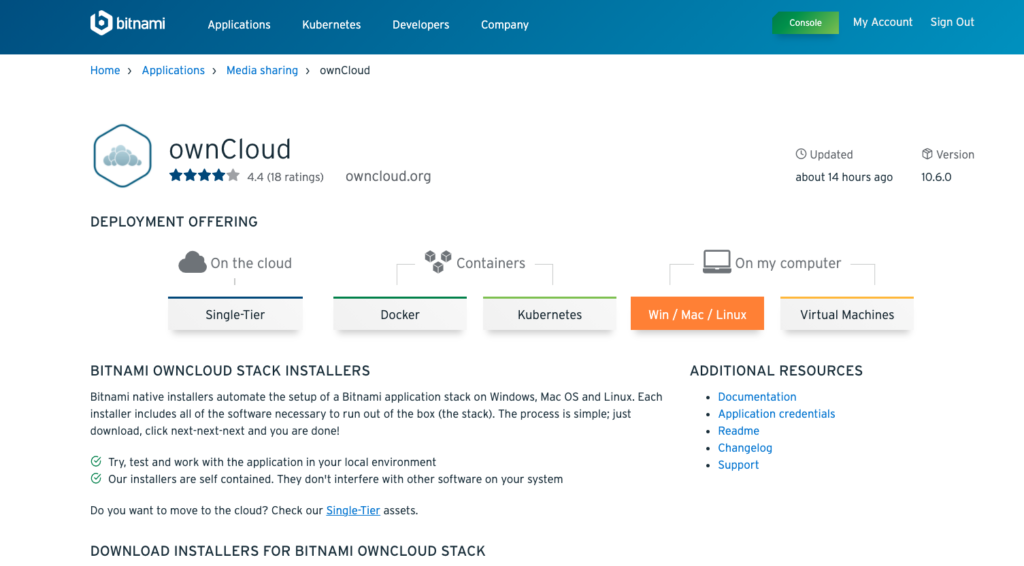
インストールするOSに合わせてタブをクリックする(今回はWin/Mac/Linux)
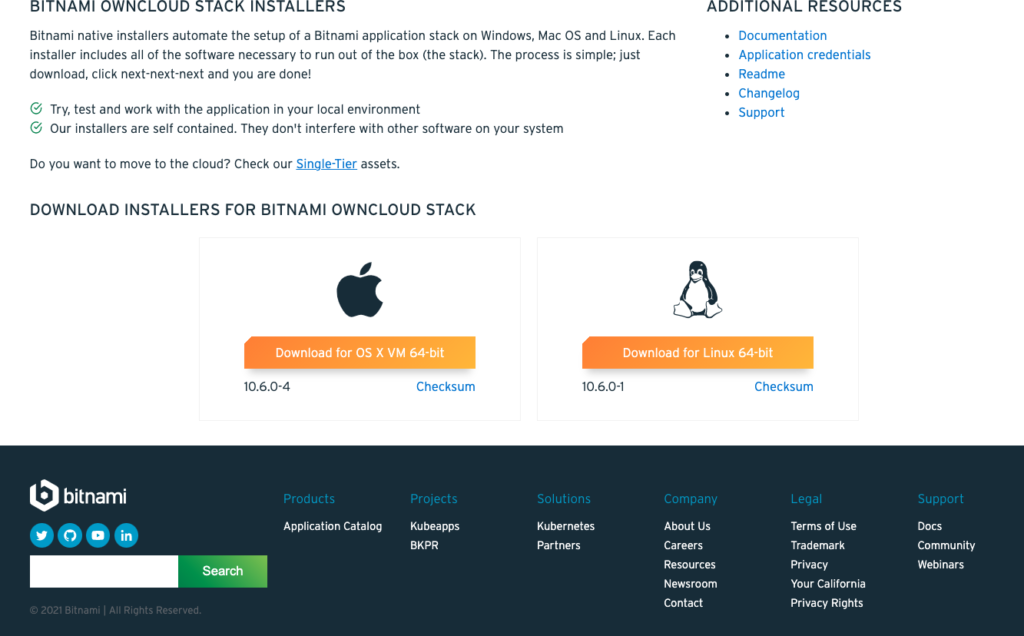
インストールするOSに合わせてDownloadを選択する(今回はペンギンさんを選択する)
するとダウンロードが始まります。
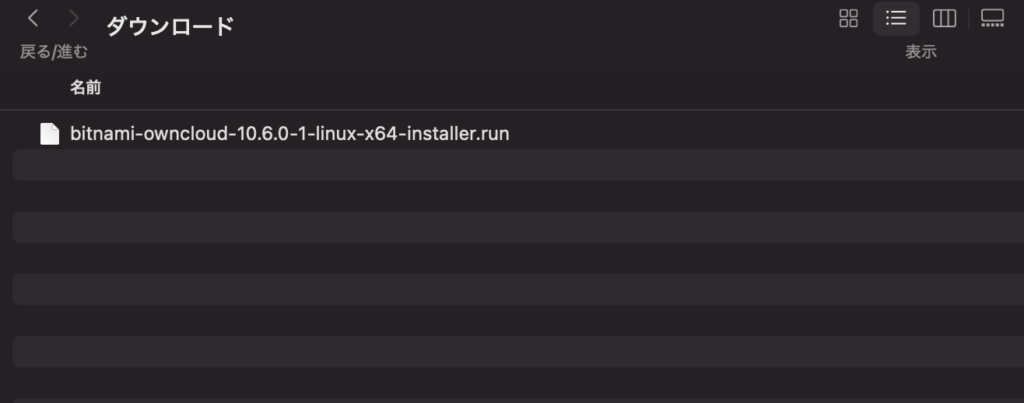
ダウンロードが完了すると以下のようなファイルが作成されます。
インストール方法

さっきダウンロードしたファイルをLinux上の好きなフォルダにアップロードしておきます。
※キャプチャはMacでの作業見本になります。
Linux上にファイルをアップロードしたとしましょう。
ファイルの実行権を見ると「644」となっています。

このままですはスクリプトを実行することができませんので以下のコマンドで実行権を加えます。
chmod 755 bitnami-owncloud-10.6.0-1-linux-x64-installer.run
これで、スクリプトを実行することができます!
次に、スクリプトを実行します。
sudo ./bitnami-owncloud-10.6.0-1-linux-x64-installer.run
すると以下のようにスクリプトが色々聞いてきますので次々入力していきます。
MySQL requires a library that was not found in your system: libtinfo.so.5. You can find more information on how to install it below:
Do you want to continue with the installation? [y/N]: (yを選択する)
----------------------------------------------------------------------------
Welcome to the Bitnami ownCloud Stack Setup Wizard.
----------------------------------------------------------------------------
Installation folder
Please, choose a folder to install Bitnami ownCloud Stack
Select a folder [/opt/owncloud-10.6.0-1]:(任意でインストール先のパスを選択する)
----------------------------------------------------------------------------
Create Admin account
Bitnami ownCloud Stack admin user creation
Your real name [User Name]: (好きな名前でOK)
Email Address [user@example.com]: (メールを使わないなら空白でOK)
Login [user]: (任意の管理者アカウント名)
Password :(管理者アカウントのパスワード)
Please confirm your password :(パスワードの確認)
-------------------------------
ownCloud
Please configure ownCloud installation
Hostname that will be used to create internal URLs. If this value is incorrect,
you may be unable to access your ownCloud installation from other computers.
Hostname [127.0.1.1]: (サーバーのIPアドレスを入力)
Do you want to configure mail support?
----------------------------------------------------------------------------
Installation type
Please select the use of this Stack
[1] Development Settings: Enables changes to file permissions and configuration settings that make it easy to install plugins, themes and updates for certain applications, but that are not optimal from a security standpoint. Recommended if you are using this stack for development purposes or within your company.
[2] Production settings: File permissions and configuration settings will be set with security and performance in mind. Installing certain plugins, themes and updates may require manual changes or installing additional services like FTP. Recommended if this stack will be deployed on a public server.
Please choose an option [2] : (検証環境の場合は:1を選択 本番環境の場合は:2を選択)
----------------------------------------------------------------------------
Setup is now ready to begin installing Bitnami ownCloud Stack on your computer.
Do you want to continue? [Y/n]: (インストールするなら Y を選択する)
----------------------------------------------------------------------------
Please wait while Setup installs Bitnami ownCloud Stack on your computer.
Installing
0% ______________ 50% ______________ 100%
----------------------------------------------------------------------------
Setup has finished installing Bitnami ownCloud Stack on your computer.
Launch Bitnami ownCloud Stack [Y/n]: (インストール後に起動するなら Y を選択する)

はい。これでインストール完了です。
あとは、試しにlocalhostで接続してみると。。
WEBサーバーも自動に起動し「bitnami」独自のTOP画面になります。
「Access owncloud」をクリックすると通常のWEBサービス画面に遷移します。
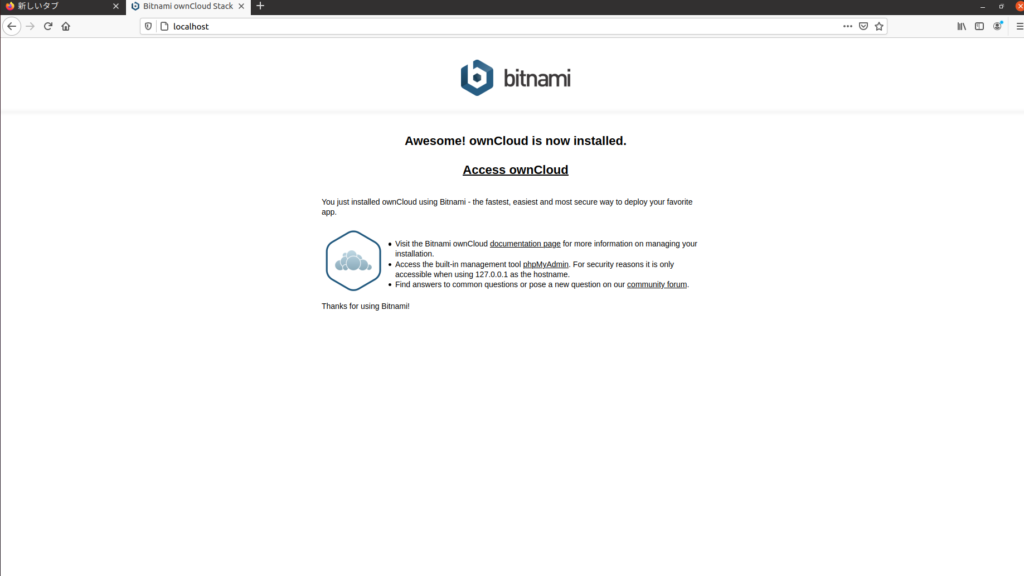


今回はWEBサービス系のowncloudを構築をしたので、ブラウザを起動しての動作確認をしていますが、LAMP環境やRubyだけの構築の場合はブラウザでの確認はできませんので注意
まとめ
いかがでしたでしょうか?
初めは10分くらいかかるかもしれませんが、慣れてしまえば2分もかかりません。
初学者でも簡単に構築できてしまいますので、勉強にはなりませんが開発環境のベースを作るならサクッと時間をかけずに作れるので超おすすめです!
ぜひ一度は試してみてください!


コメント